
Shady Boy Awning

“Designed by Wolf, Parts made in USA, Assembled in Canada”
I first saw a Shady Boy Awning at the inaugural Asheville Van Life Rally and have been comparing every awing to it since.
I finally purchased one, my review is below…
My personal requirements
lightweight
provide shade & shelter
quick & easy to deploy
quiet in windy conditions
Does not block Ecamper latches
functions with the Ecamper up or down
aesthetically pleasing deployed & stored
can be setup solo without frustration

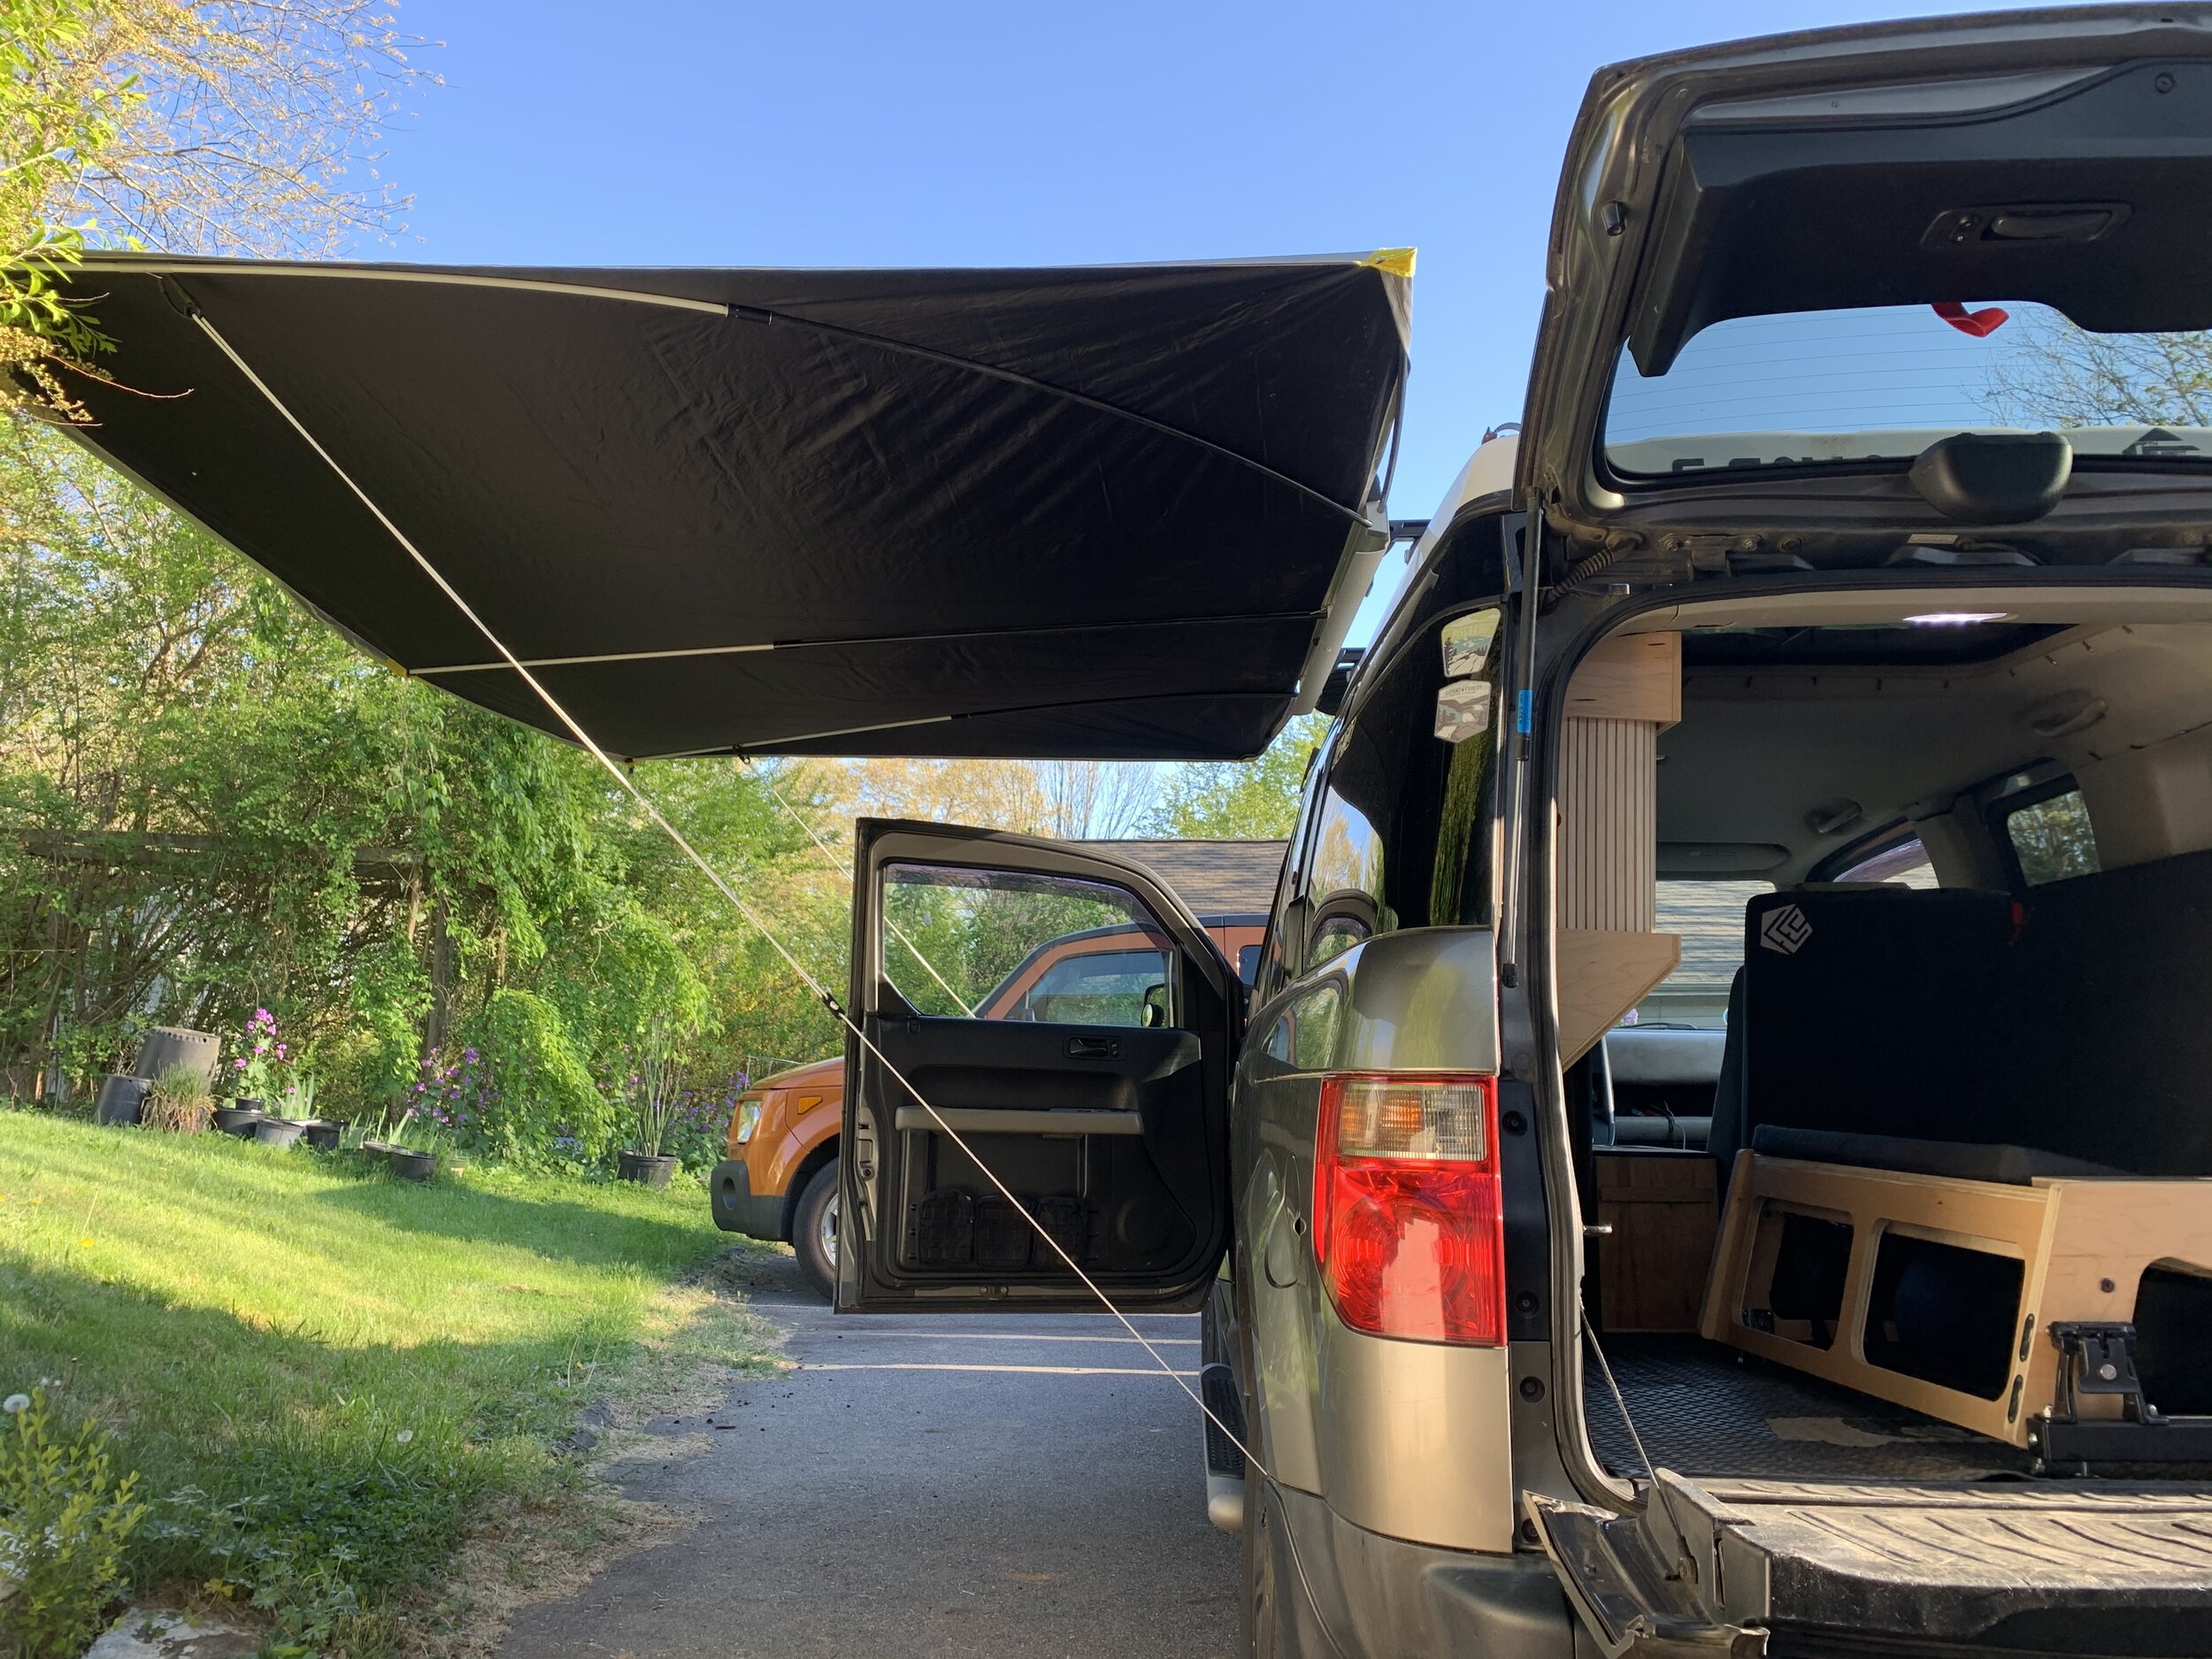
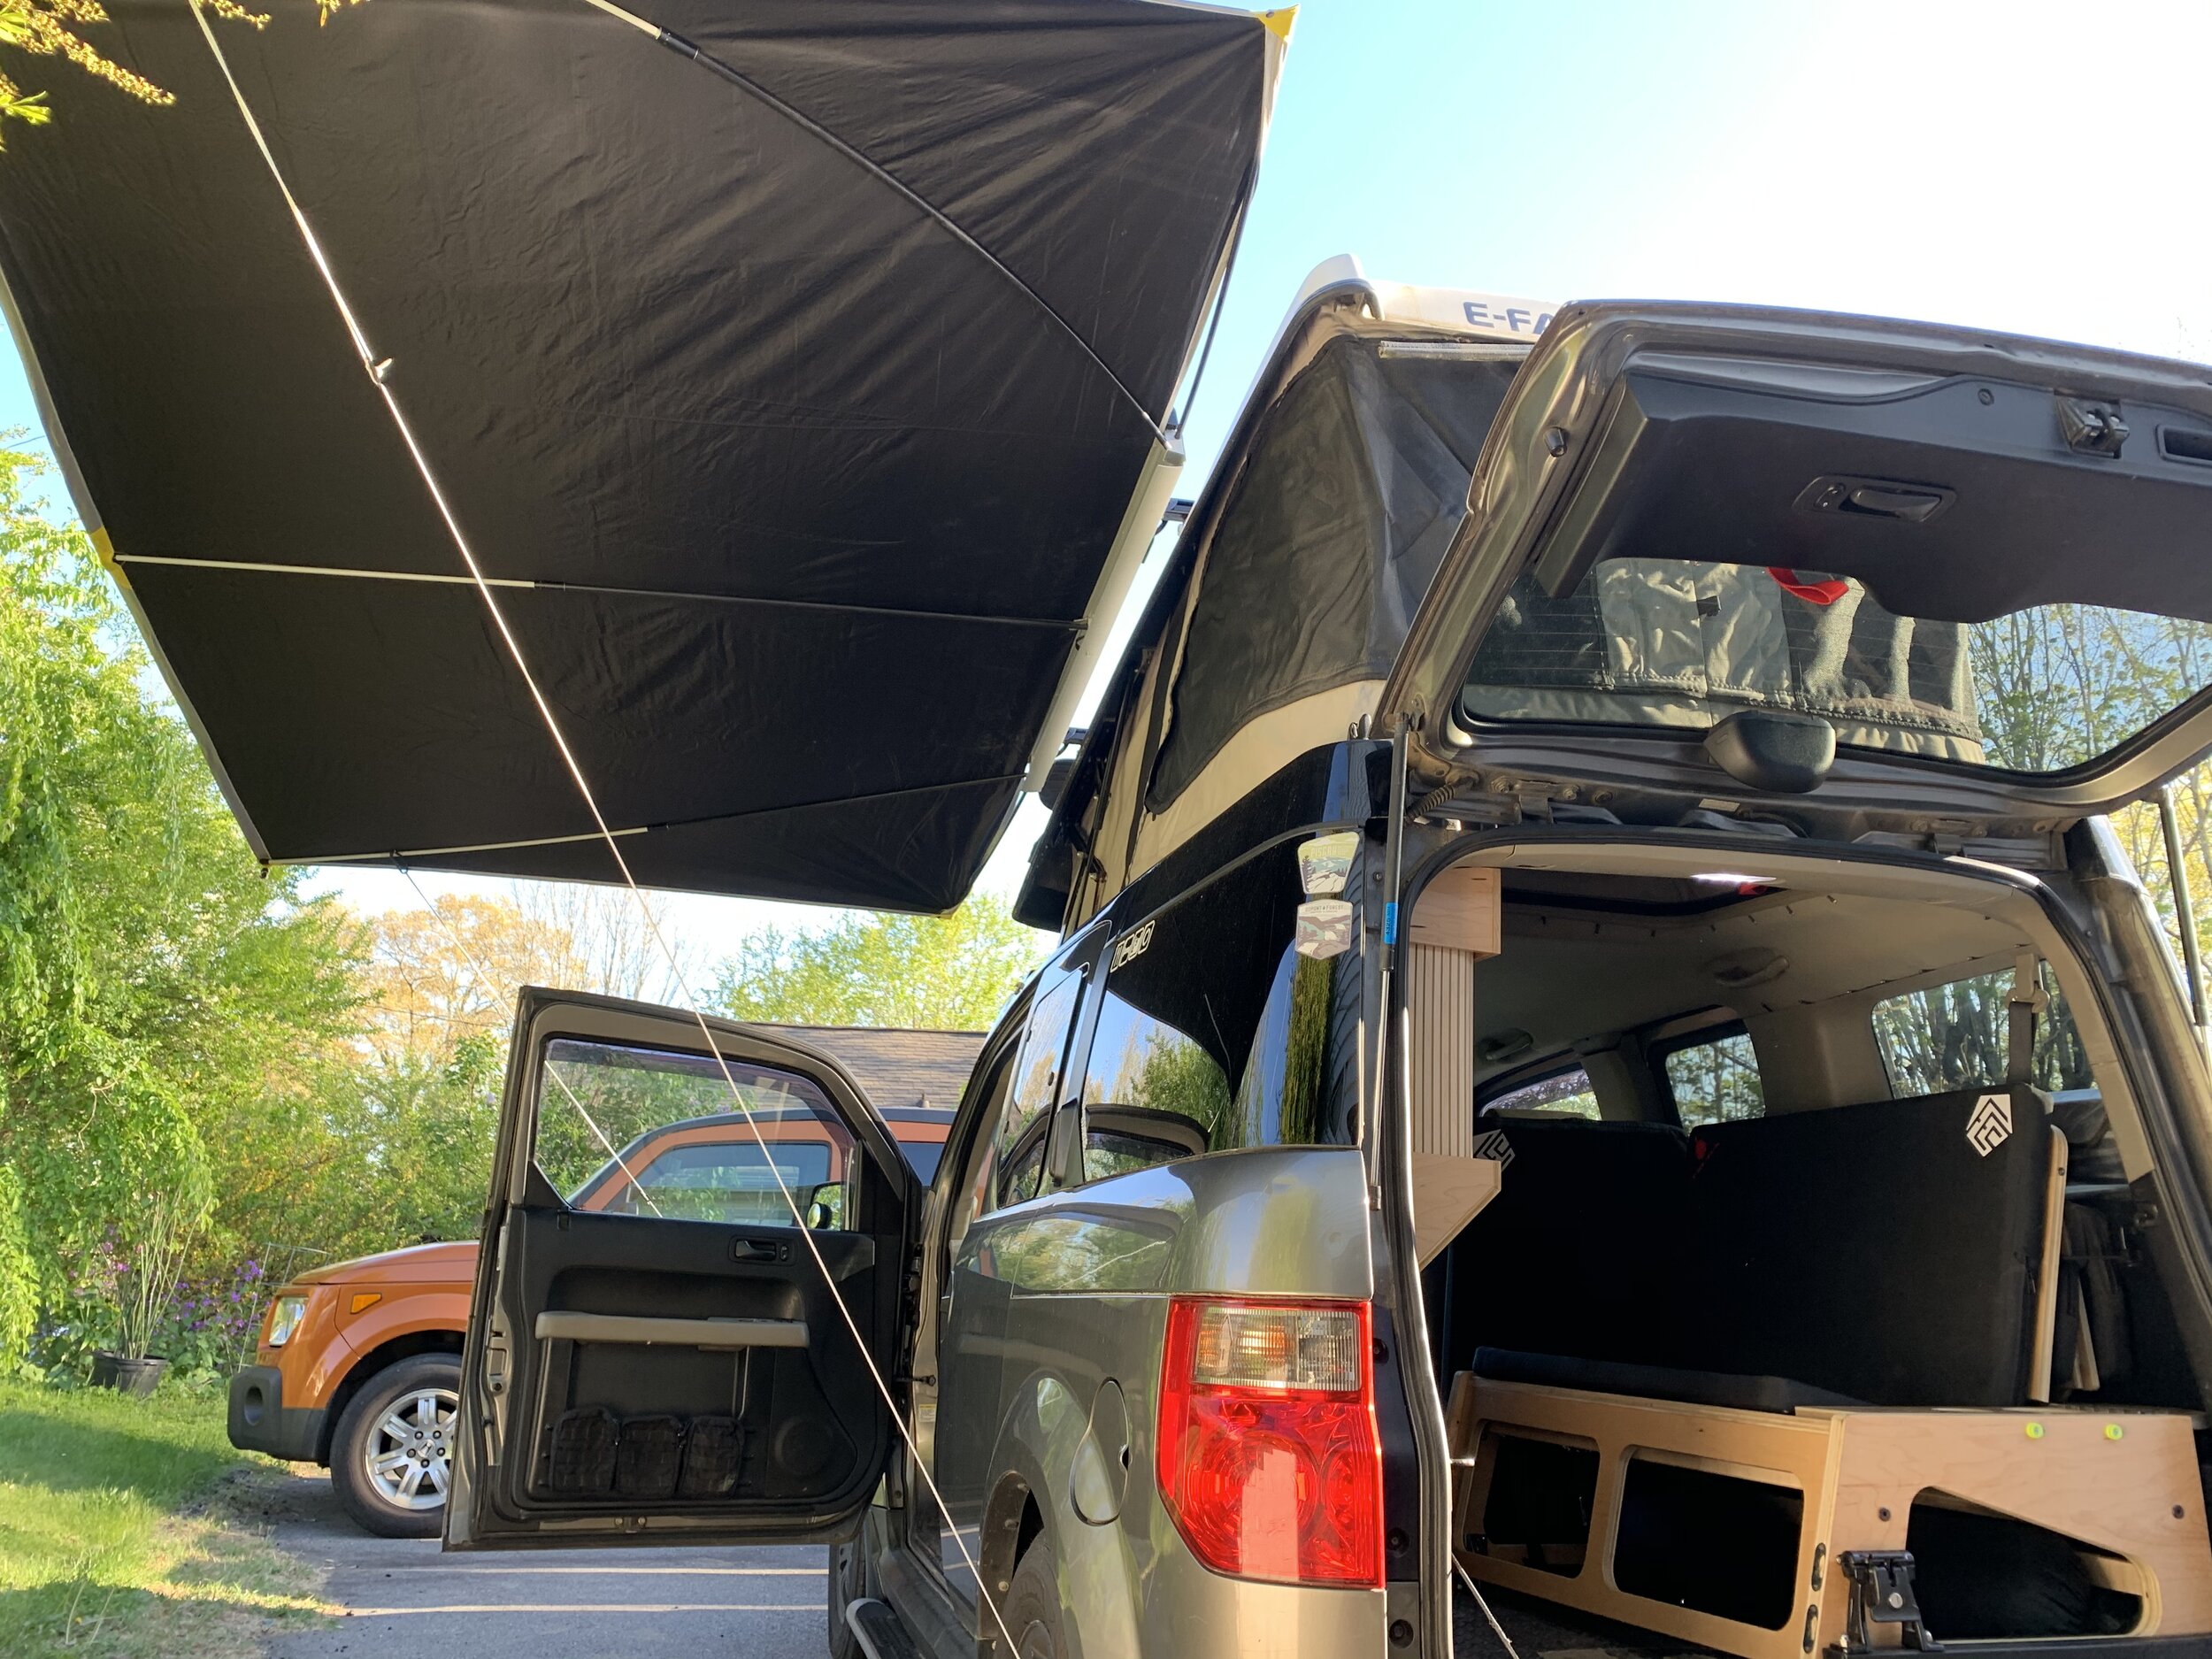
At just 50” wide it does not interfere with the Ecamper latches.

A minimal gap of 0.25” between the Ecamper & Awning. This kept any potential movement of the awning from scratching the fiberglass poptop.
Ordering Process
The ordering process is personal and via email, this is not a product you will find on Amazon or in a retail store.
“Designed by Wolf, Parts made in USA, Assembled in Canada”
Wolf is who I emailed with to select my options and complete the order. I reached out, a reply of the options was presented, I selected my options and chose PayPal as my payment method, a invoice with a PayPal link followed. Being small business owner myself, I was happy to support someone else making their own way in the world.
What I ordered
Shady Boy Awnings are all one size with just a handful of options.
Housing length is approx. 49 in / 125 cm.
Fabric width 10 ft / 305 cm , projection is 6 ft / 183 cm
Please note: Buy at least one set of downdraft poles for use when the wind picks up. I bought both heights (72” & 88”) to use in combination (one tall & one short) with the popped up Ecamper. I ordered every option minus the mounting brackets
Items ordered February 2020, please visit ShadyBoy.com for the latest pricing:
Awning silver/black fabric ($349 USD)
Downdraft poles 72 inches ($36 USD)
Downdraft poles 88 inches (optional)
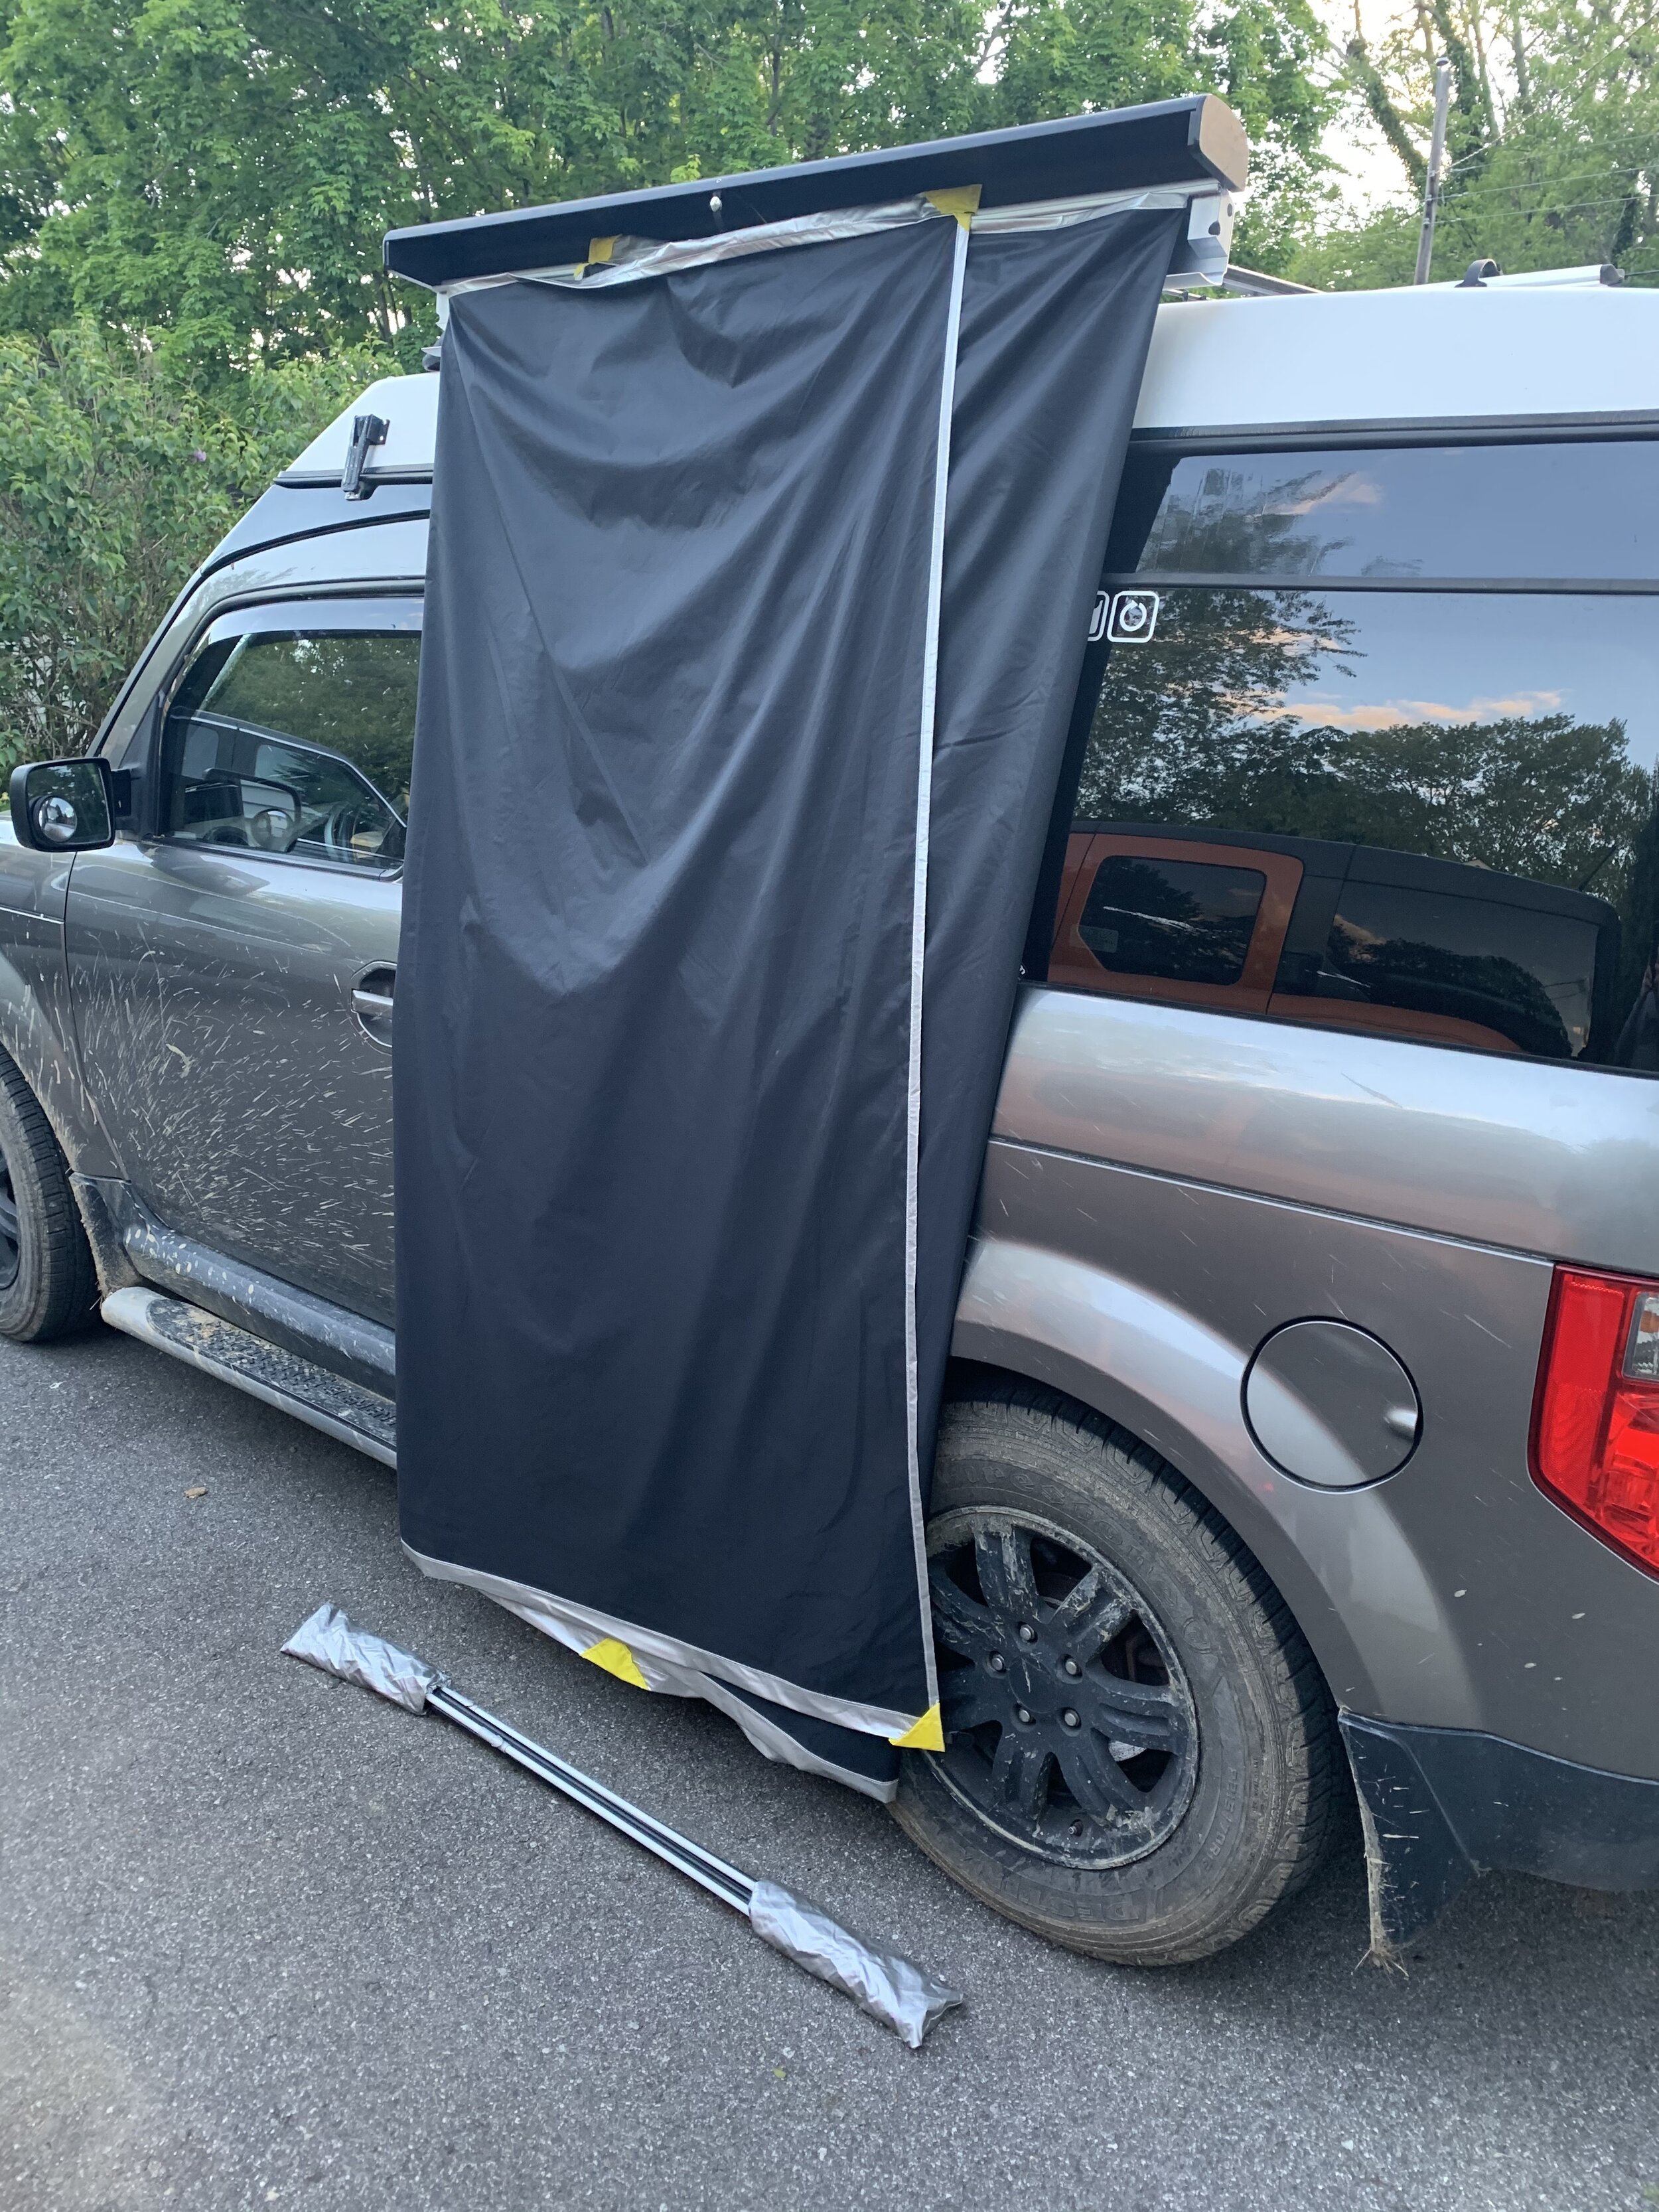
Black anodized front cover (optional)
Again, I chose to buy both sets of Downdraft poles, the 72” & 88” to use with the Ecamper angled poptop.
Initial impressions
The Shady Boy arrived packed in recyclable cardboard that was compact and well protected. Everything inside the package was contained within the awning housing. The fit and finish was impressive and beautifully minimal. A no nonsense, simple and elegant design that appears to be built to last. I checked the weight without the optional poles and it was right at 14lbs, each set of poles were approximatly 2lbs.
Install
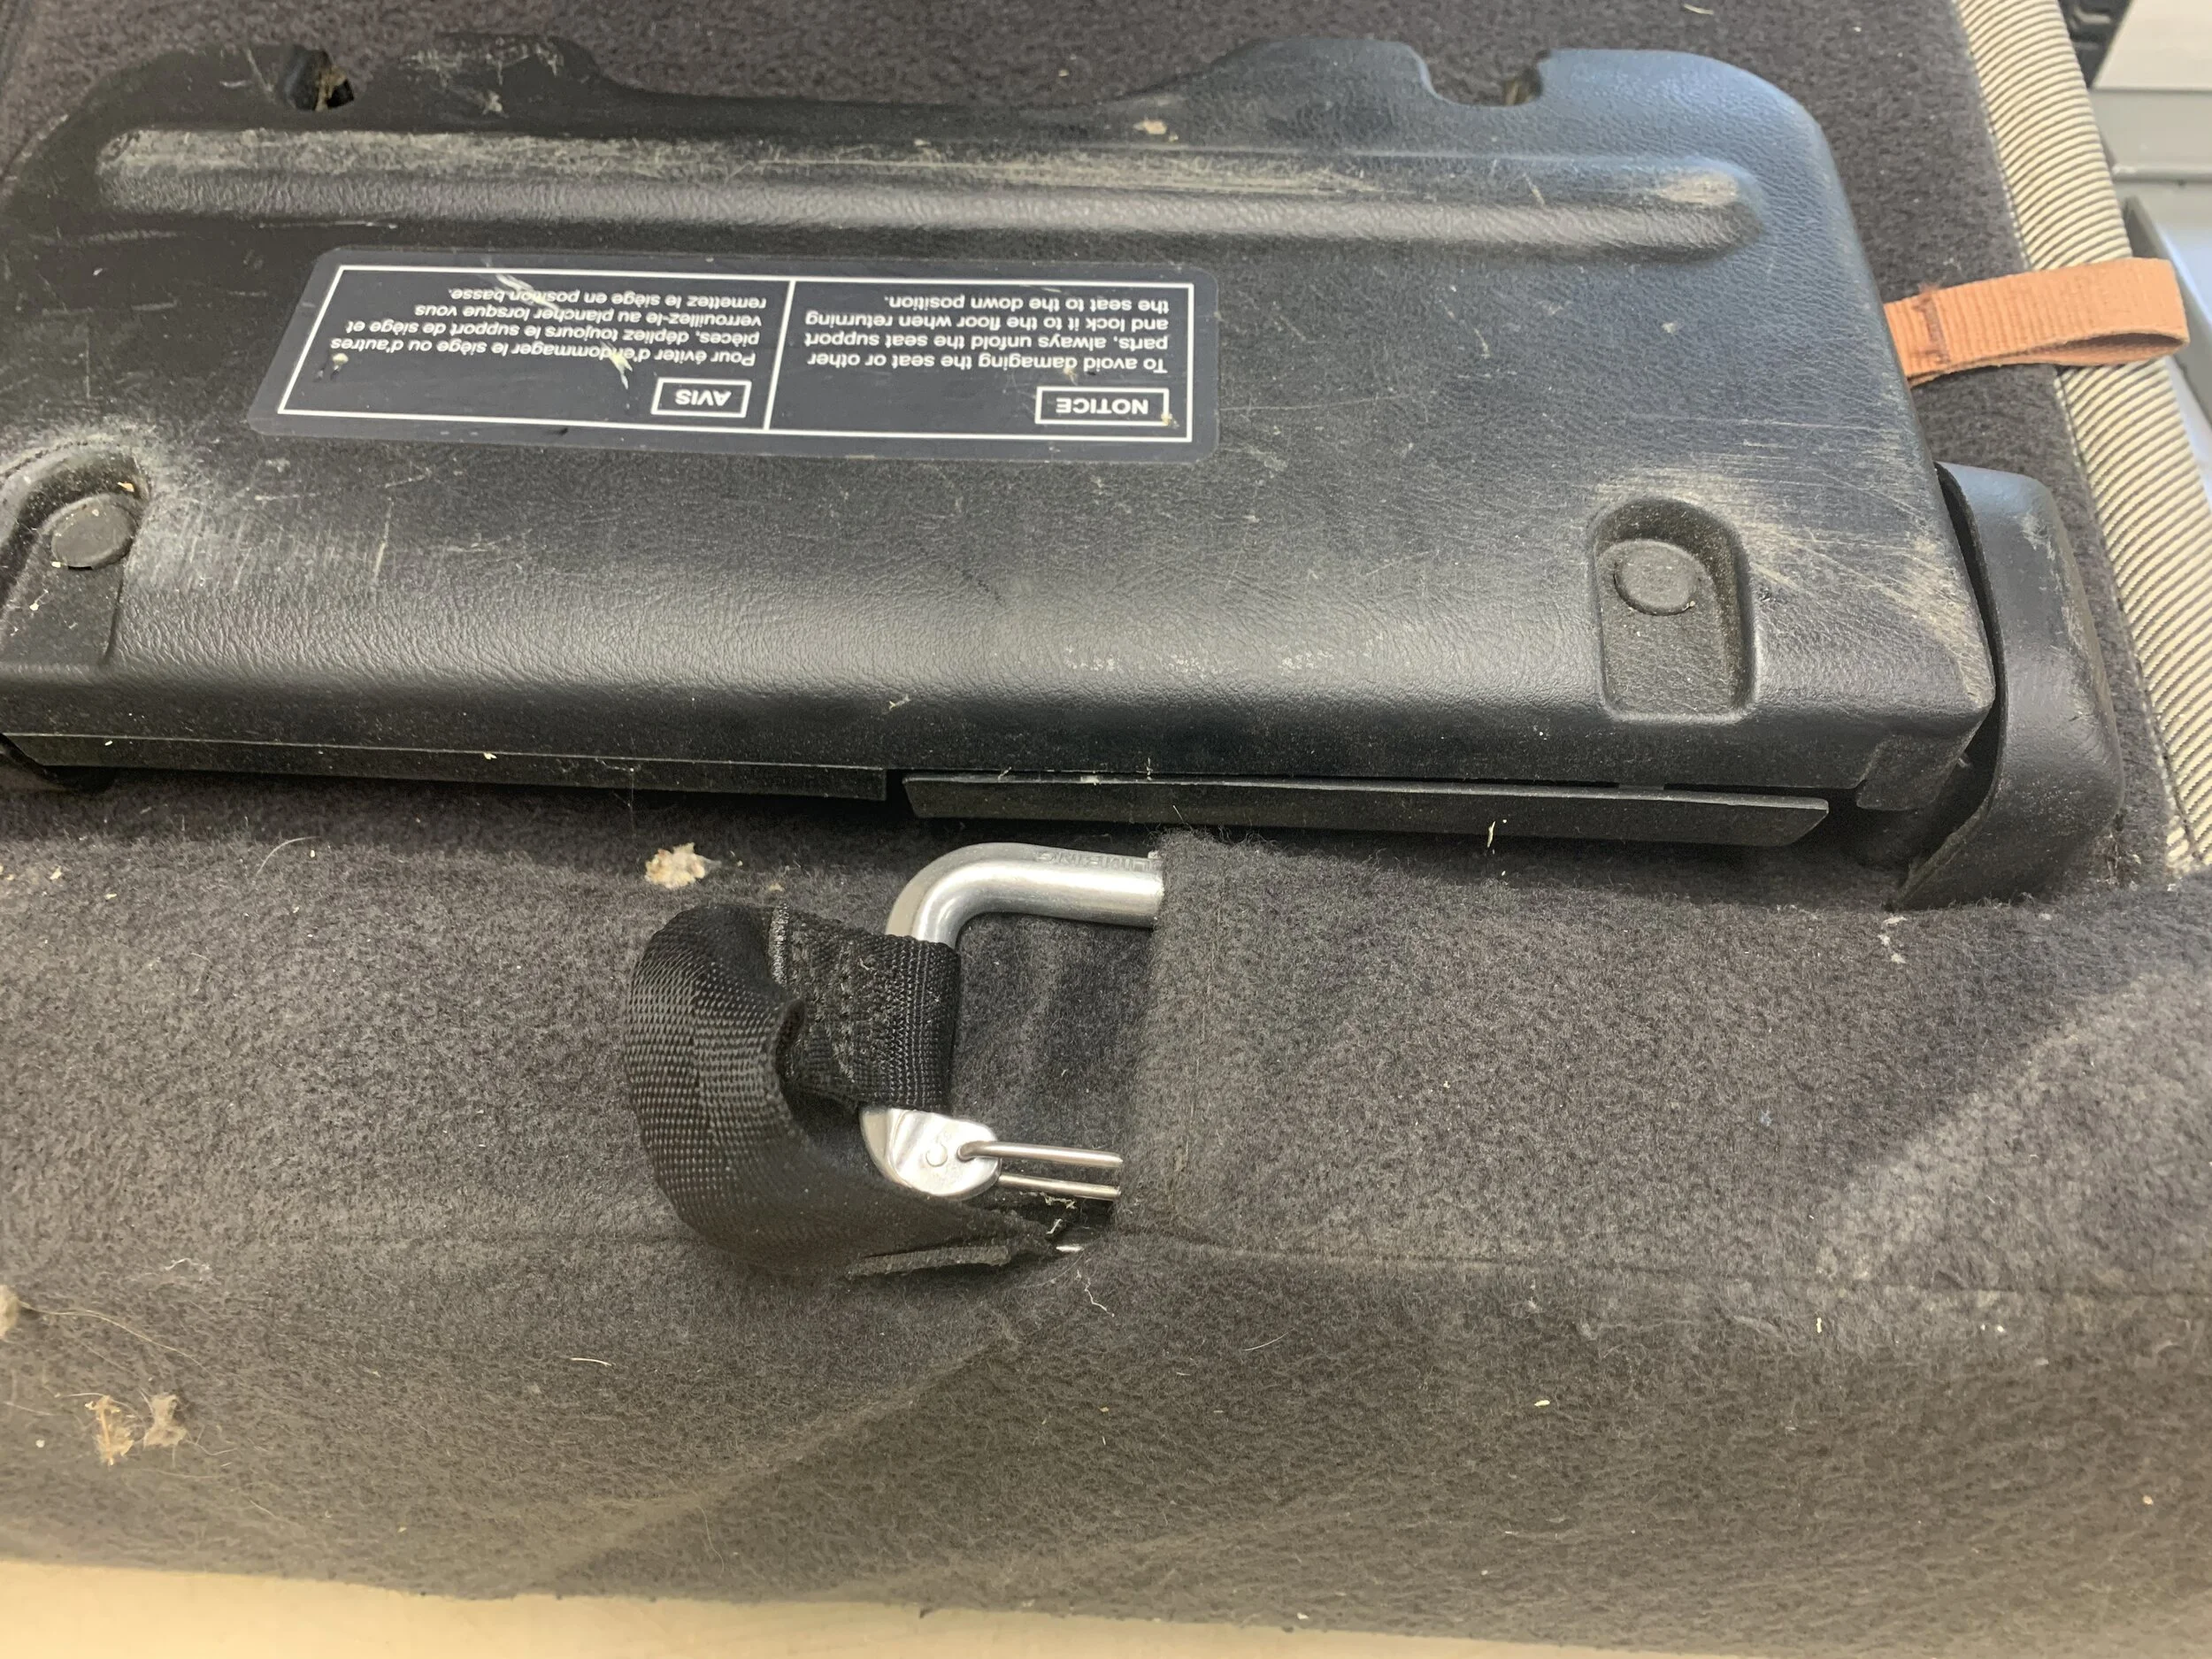
The installation of the awning requires some thought, creativity and drilling. While stainless steel brackets were available directly from Shady Boy, I was unsure of exactly how or where I was going to mount it. I used ARB’s Universal Awing Mounts (linked below) which ended up being a perfect option for my needs. Again this is where you need to think about what you are attaching (what type of roof rack cross bars you have) and where you have room to mount it. Mine is mounted on top of my Ecamper pop top and this had it’s own requirements.
From Ursa Minor Vehicles website FAQ:
How much weight can I put up on the racks with an ECamper™ conversion?
With the camper closed, you may carry as much gear on the racks as you did before the conversion, subject to the load ratings specified by the rack manufacturer. Both Thule and Yakima rate their racks at 75 lbs per bar, but that rating should be taken with caution. Loading at capacity on a washboard road will likely result in issues or failures.
The more gear you put on the racks, the more effort you will need to exert to open the camper. We advise no more than 30lbs on the racks in order to easily raise the roof. This limitation is fairly generous in the pop-top industry.
I prefer to have balanced weight on the poptop, uneven loads tend to flex the fiberglass poptop when lifted, when it’s balanced, it raises and lowers evenly on both sides. I have a Rocky Mounts bike rack on the opposite side that is also 15lbs
I used the ARB mount holes to mark where I was going to drill in my Yakima steel square bars and the aluminum Shady Boy Awning. I then removed my rack and placed it on a bench. This made the drilling of the steel bars much easier vs working from a ladder.
I’ve added a spacer under the front of the mount to tilt the awning back, this created a better “arch” to the awing. The additional angle allows you to cinch the ties down further, improving performance in wind and rain.
My future plans include mounting it directly to the side of the Ecamper which is already at this same angle. Stay tuned for updates…


Setup/Travel
While it may seem confusing the first time or two, the intuitive design has been well thought out and is easily setup solo. The poles are color coded and various sizes, once you learn what goes where, the instructions become unnecessary. My average setup time is about two minutes which makes me more likely to use it. Once the awing is setup, you’ll need to connect the guy lines to your vehicle to hold the awning down in moderate winds. The included guy lines have clips at either end that attach to the poles near the outer corners and then you clip the other end to your vehicle. They can be clipped to you wheels (rims), trailer hitch, bumpers, running boards or where ever you prefer. If you clip them to something besides your rims/wheels, you’ll be able to drive around with the awning deployed. This can be quite useful when you’ve chosen your spot without considering the suns position, simply move your vehicle for the best shade. When the wind picks up you will need to use the down draft poles. These clip into place and are held “down” by the tension of the guy lines connected to your vehicle.
Taking down the awing is just as easy, unhook the poles from the fabric and disconnect them from the main unit. once all the poles are removed, two snaps on the ends of the fabric guide you in how to fold the awing. Once snapped, gather the poles, place the travel bags on each end of the poles (this protects the awing from the pole ends wearing holes in the fabric while stored) and roll them up in the fabric. A strap with another snap holds the rolled awing in place and one more holds the lid closed.
I have not noticed any whistling or wind noise from the Shady Boy while driving. While deployed the awning is also very quiet, even in high wind I have not experienced any whipping noise. This may not be something you’ve considered when shopping for awning, but once you’ve sat under one that makes a repetitive unrelenting noise, you’ll add it the the list of requirements.


Performance
Shady Boy Awning installed February 2020
Conditions I have setup and used the Shady Boy in so far… I will update with any new additions, advice or issues.
Sunny: providing shade as expected. The 10ft x 6ft fabric has a silver top that additionally shields you from the heat of the sun.
Windy: when the wind blows, you’ll need those downdraft poles…setup in 20mph max wind gusts today, holding strong and rather quiet for the level of movement. I mention the noise since I have been woken up numerous times by tarps whipping in the wind.
Rain: works as expected, the angles and high center help shed water where you want it.
I really like that it is free standing, I can move my car to reposition the awning with it fully deployed. The sun moves and wind shifts, it’s nice to be able to change up how I’m parked.
December 2020 update: zero issues with any parts or functions of the Shadyboy. I’d like to see a full length stuff sack for the poles avaible as a optional upgrade. It comes with two 12” elastic ended bags (like a sock) that go over the ends of the gathered poles to protect the awning while stored. This is barely worth mentioning, but I do believe it would be a better/faster experience with a single draw string bag vs the two end bags.
Conclusion
After owning a Shady Boy Awning for nearly a year, I can say it’s truly in a class of it’s own and the perfect awing for the Ursa Minor Vehicles Ecamper. It’s ultra lightweight, free standing, compact, easy to setup/breakdown and designed/manufactured by a small business. It checks all the boxes with the added bonus of a great product name.
I highly recommend this to anyone looking for an awning.
…and if you’re reading this Wolf, thank you for designing and bringing the Shady Boy to market.
Links
Shady Boy Awning:
Ursa Minor Vehicles Honda Element Ecamper (poptop):